As the child grows up, parents try to pick up various developmental activities for him, which not only help to diversify leisure, but also develop the child’s creativity. And the most popular occupation is modeling clay.
What is useful modeling
From birth to 5-6 years old, children get to know the world around. It is with their fingers that they explore all the objects lying around, draw conclusions and study the world.
That is why modeling is one of the most important activities with a child. This is creativity, as a result of which three-dimensional objects and whole compositions appear from plastic materials.
To the question "What is useful modeling clay?" You can answer with a list of reasons:
- It develops fine motor skills of the fingers and muscles of the hands: hands and eyes begin to work in synchronized fashion, coordination of movements becomes more plastic, hands get used to working with small details;
- Spatial thinking and imagination develop;
- Improved overall skill;
- The child learns not only to see colors, lines and textures, but also to reproduce them;
- Through modeling, a child can express his emotions, feelings and moods;
- This type of creativity contributes to the perseverance of the baby, the development of patience.

Creativity is one of the ways to know the world and creating images from plasticine is great for kids. But the main reason why it is worth paying attention to this occupation is the joint leisure of parents and children.
There is nothing better to create a close bond between parents and children than joint leisure. Especially when he is so entertaining!
Basics of modeling clay
Where to start? Of course, at first glance it seems that there is nothing simple - tear off pieces for yourself and scum what you want. But if the parents want the child to take this seriously and consciously and enthusiastically create figurines and compositions, they need to approach the modeling seriously and thoroughly.
Most often, children consciously and enthusiastically begin to sculpt after 2-3 years, usually before that age, they just crumple the clay in their hands. But this does not mean that you should not give them up to 3 years to sculpt, not at all, just do not expect them to masterpieces of fine art. Up to three years old, a child can be taught to do simple actions with a soft mass:
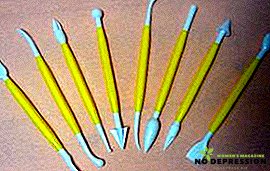
- poke and cut it with a special knife - a stack;
- pinch off small pieces of the total mass and knead them;
- roll balls and sausages;
- squeezing flat figures out of plasticine using special molds;
- roll plasticine in a thin layer on a special board.

These elementary actions at the age of six months to two years will not only take the child’s leisure, but will also be deposited in his head as the basis of modeling.
What can be molded from plasticine lung with a child
As the child grows up, you can show him how to create volumetric figures and compositions from them. The main thing to remember is that all complex shapes ultimately boil down to the ability to make simple ones:
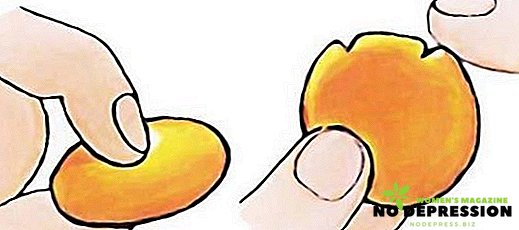
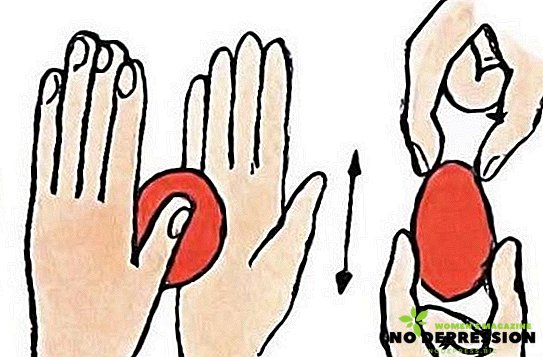
- ball;
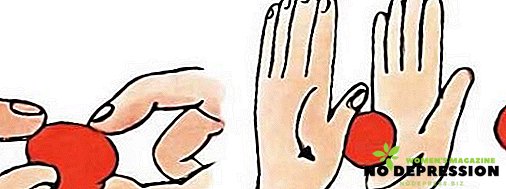
- pancake;
- egg;
- box;
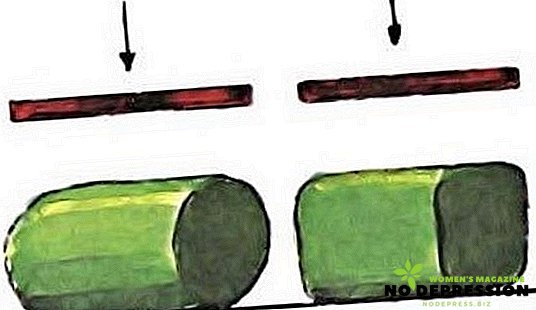
- cylinder;
- sausage;
- the tape.


If the kid learns to do them, then it will be much easier for him to move on to creating something more complex.
Starting a molding, you should not force the child to mold something difficult or something that he does not want. First of all, it is important to interest the child in this activity and help him to love him.
What figures can be molded from clay
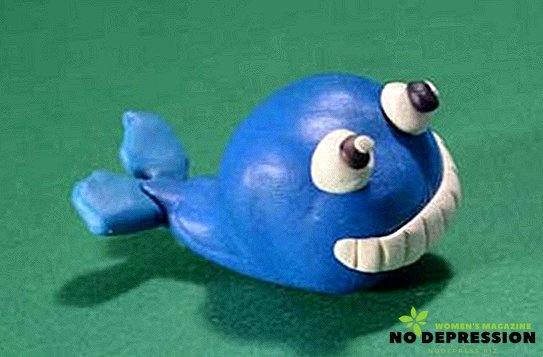
Fun whale
The small figure of a whale is made very simply and quickly, and the addition of additional materials makes it very similar to the present.

It will take:
- clay blue, white and black - 1 piece;
- stack;
- cocktail tubule;
- scissors.
Step-by-step instruction:
- It is necessary to roll a ball from a large piece of blue plasticine;
- Then smoothly drag one end of the ball, but not too thin - this will be the back of the whale;
- The tail of the whale is divided into two parts with the help of a stack, which make it believable;
- On the opposite side, it is necessary to carefully cut through the mouth with a stack so that it is divided into two parts: a larger top and a smaller one;
- White plasticine roll up two small balls and then flatten them into a pancake;
- Gather neatly white pancakes in places where the fish has eyes;
- Then make small balls of black and attach them in the center of the eyes - these will be the pupils;
- From the cocktail tube cut off a small part. On the one hand, leave it untouched, and on the other hand, turn it into straws with scissors;
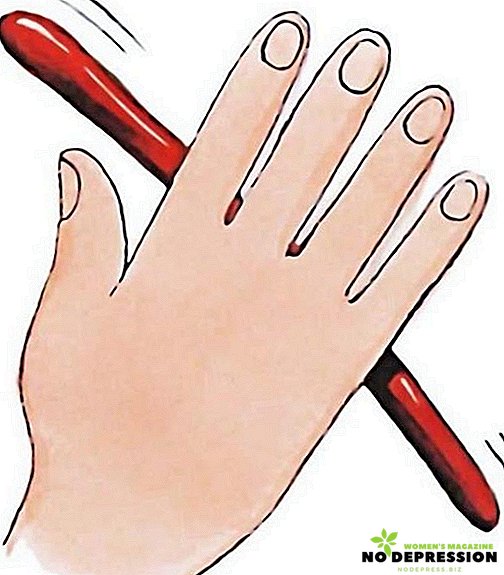
- Make a hole in the middle of the whale’s back, you can do it with a pencil. The hole should not be very deep;
- Insert the tubing with the solid end into the hole. If you wish, you can make whale teeth out of white plasticine.

Spider
It is also very fast and simple crafts, which consists of elementary elements. And very well, you can use black clay, which is usually not popular.
It will take:
- clay - black, white and yellow;
- stack.

Progress:
- The black clay is divided into two parts - from one the legs will be molded, and from the second - the spider's torso;
- From one part, roll up a large ball and slightly flatten it so that an oval is formed, but not to make it too flat - the volume should remain;
- The second part of the black mass is divided into 8 equal parts;
- From each such part roll sausage. Here it is important to remember that the far legs of the spider should be slightly longer, so the sausage needs to be rolled more;
- Attach the legs to the spider body;
- Make two small balls of yellow plasticine and make pancakes out of them - attach eyes to the place;
- From the remnants of black plasticine, roll up 2 small balls and attach them to the center of the eyes - these are the pupils of the spider;
- From white - roll up two small thick sausages - these are spider fangs.
What can be molded from plasticine for dolls
The easiest way to make for dolls are small objects of everyday life from plasticine. Excellent goes dishes, food and other small items (hair dryer, accessories, etc.).
A tea set
This is a composition that requires only fantasy and time.
Would need:
- clay - yellow and blue;
- stack.

Progress:
- To begin with, it is necessary to divide the yellow plasticine by the stack into the number of pieces, how many service items are planned. One is bigger for a teapot, the rest for cups;
- First make a teapot: divide the piece into three parts. From the most part roll up the ball and slightly pull it into the cylinder;
- Fingers to give it the desired shape, from the second part to make a spout - just roll it into a small thick sausage, and from the third part - roll a small ball for the handle;
- Then you can make a cup - roll the cylinder out of the ball, slightly compacted to the bottom and, putting it on the tip of the index finger, form a cup;
- Make saucer of blue plasticine - first roll the ball and flatten it into a disk;
- For cups, you can make decorative elements and handles of blue clay.
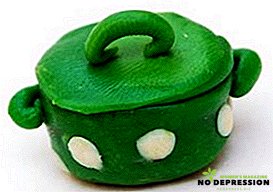
Pan
By the example of this pot you can make a whole set for each doll. The main thing in this is fantasy!
It will take:
- plasticine green and white;
- stack.

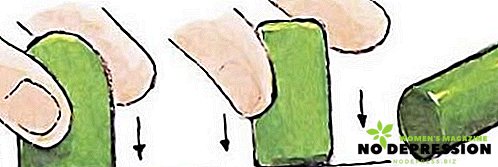
- Divide the green clay into three parts - the main one for the pan, for the lid and for the handles;
- From the most part roll the ball, then smoothly working with your fingers to give it the shape of a hollow cylinder;
- Strengthen the bottom;
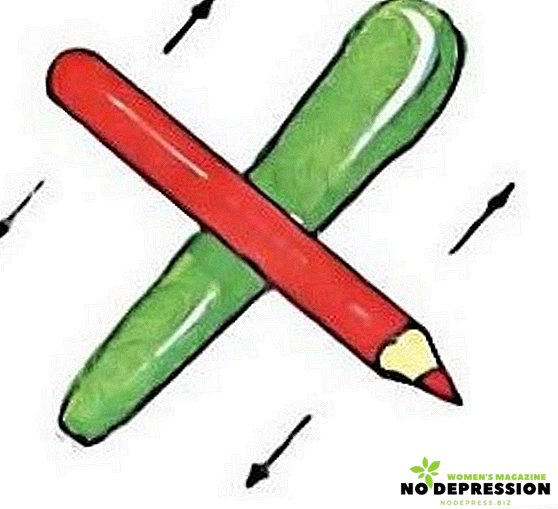
- From the second part to make a flat disk and put on top of the pan;
- Make small pot handles and a lid handle out of the remaining plasticine;
- Make white decorative elements from white plasticine.
How can you make food from plasticine
Food is something that can be done very quickly and even with small children.
Created things can be used in the game with dolls or simply using as visual aids telling your child about food.
Candies
There are several different options for making plasticine sweets. There are very simple options, there is a little more difficult for older children.
 Parents can choose what kind of candy to sculpt with the baby, depending on his perseverance and interest.
It will take:
- plasticine of different colors;
- toothpicks;
- color paper;
- decorative elements (beads, beads, etc.);
- stack.
- Such candies are fully molded: first, a thick sausage is made from a piece of plasticine mass, the ends of which are flattened and cut by a stack. For variety, you can make simple sausages and wrap them in small pieces of colored paper;
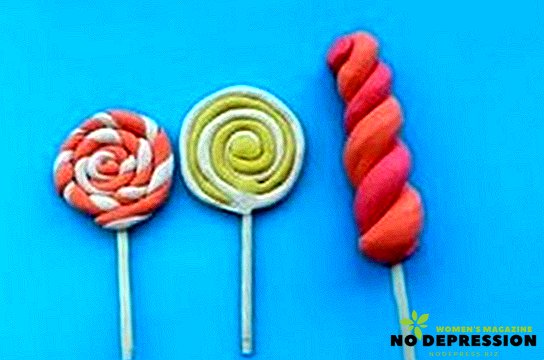
- This option is a little more difficult and for it it is necessary to use toothpicks: multi-colored clay is cut into pieces from which thin sausages roll;
- It is best to use 2 colors in one candy, but you can make it multicolored;
- 2 sausages of different colors are twisted together in a pigtail;
- The pigtail must be neatly folded in a circle to end up with a round candy;
- But you can just twist the sausages and get a high long candy;
- This version of candy for older children who are already well molded and can create complex shapes;
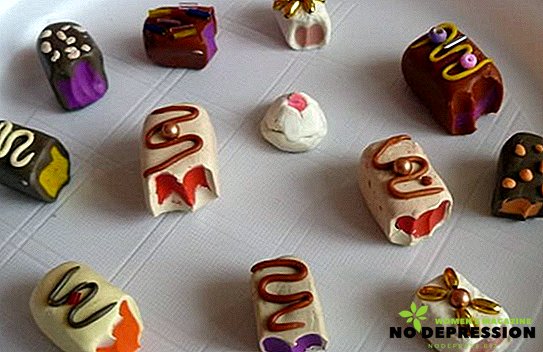
- Plasticine of 2 colors is used for one candy: a square sausage is formed from the base color;
- To make it easier clay, which should serve as a glaze, rolls out first into a flat disk, and then covers a square sausage;
- On top of the candy can be decorated with beads or simply figures of the third color;
- The "bite" effect is performed using stacks, which neatly incise the candy.


Cabbage
This is a very simple figure, which will require the ability to sculpt elementary figures.
It will take:
- plasticine of different colors;
- stack;
- special plate for flat figures.
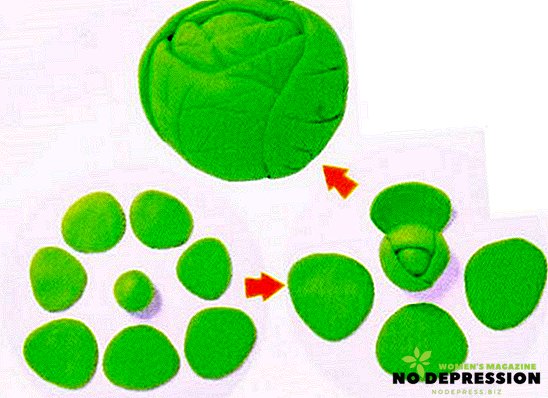

- As shown in the figure, cabbage is molded in three steps from green plasticine;
- Initially, the piece is divided into parts: one for the base, which rolls into a ball, the rest for the leaves, which take the form of flat cakes;
- Leaves are attached to the base ball, but so that they do not merge into one, but the line of demarcation is visible;
- The more leaves there are, the larger and more textured will be the cabbage;
- At the end, on each leaf, it is necessary to make neat cuts with the stack to create the veins.
What can be molded from clay Play To
Plasticine Play Do differs in special bright colors and softness. Figures from it are molded on special plastic boards. The easiest way is to make fruit out of it.

It will take only clay in different colors.
- It is better to do flat fruits on a special plastic plate to which clay does not stick;
- Balls for pears, apples and grapes roll around from the respective flowers;
- A pear and an apple are made according to one principle - the ball takes the necessary form (the apple is round, the pear is in the shape of a figure eight), fits onto the board and is decorated with decorative elements (leaves, eyes);
- Grapes are made somewhat differently - one green ball is divided into a large number of small ones;
- Balls in the form of a bunch of grapes are tightly laid out on the board and then decorated with leaf and eyes.
Now you just have something to do with your child! Believe me, it will not be boring!
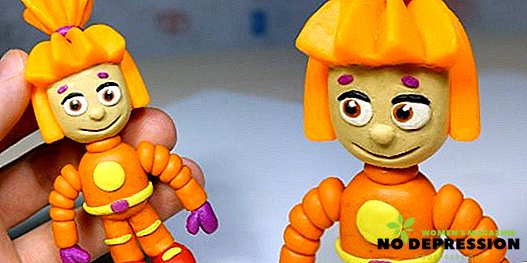
From the following video you will learn how to make a smesharika from clay.